
If you would prefer a printed softbound version of When Vegans (Almost) Rule the World, you can pick one up for just $11.99 at Amazon. Kindle eBook coming soon!
Available in either softbound or Kindle/Nook/etc. eBook at Amazon
viviansharpe.com


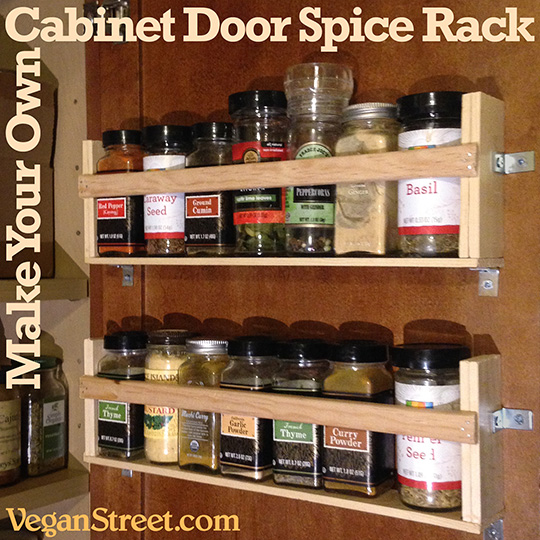 Make Your Own Cabinet Door Spice Rack We want to start by getting this out in the open right away -- there are no carpenters here at Vegan Street. We're artists and we consider ourselves to be pretty creative and resourceful. But neither of us were schooled in carpentry, we really don't have a lot of tools lying around and not a lot of practice with the tools we have. We do have a lot of spices lying around the kitchen, though, and we spand more time than necessary looking for them when we're preparing meals. So we had this crazy idea that we could just install shelves in the doors of our cabinets and the spices would be right there. Not particularly original, but not common enough that we saw cabinet door spice racks that we could easily purchase. So these were built with simple and sometimes inadequate tools by a barely competent craftsman using whatever materials I could find at the local hardware store. So if I can do this, you probably can too. Make Your Own Cabinet Door Spice Rack Materials we used: 1/4" x 1 3/4" pine moulding 1/4" x 3/4" pine molding 3/4" zinc-plated corner braces (4 per shelf) #6 x 1/2" wood screws #18 x 5/8" wire brads (essentially they're tiny nails) wood glue Tools we used: hand saw electril drill hammer screwdriver blue painter's tape measuring tape (or a ruler or yardstick) pencil a level would have been great, but we didn't have one 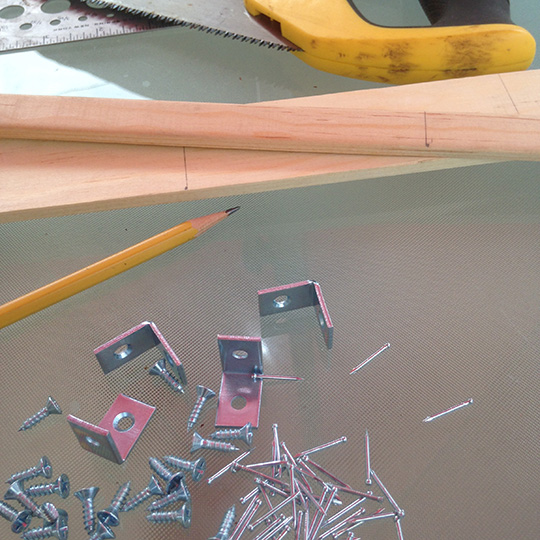 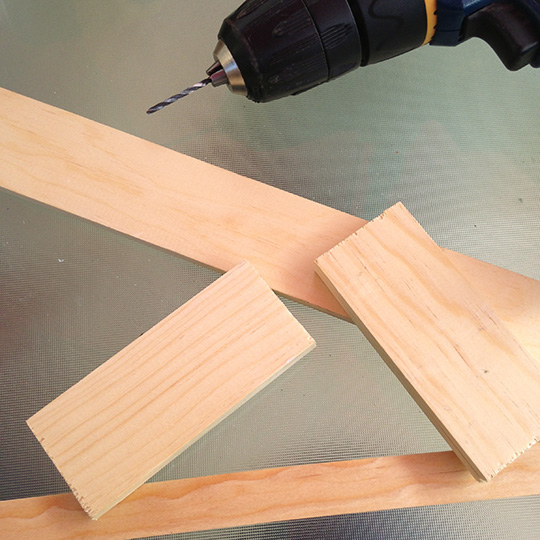 The moulding came in 10-foot lengths. We cut both sizes of moulding into 14" lengths (the desired width for our cabinet. You'll probably want to make them about 1 1/2" narrower than your cabinet door. The wider strip is used for the bottom and the narrow strip is used for the bar across the front of the rack. 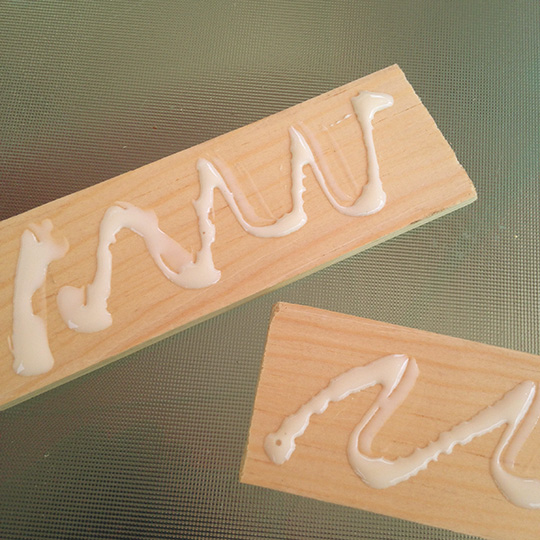 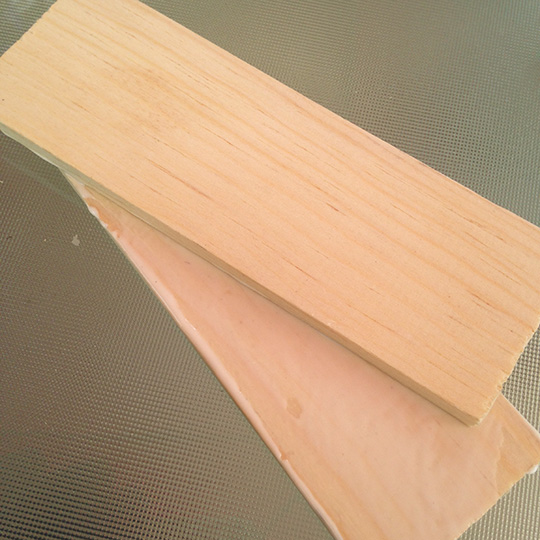 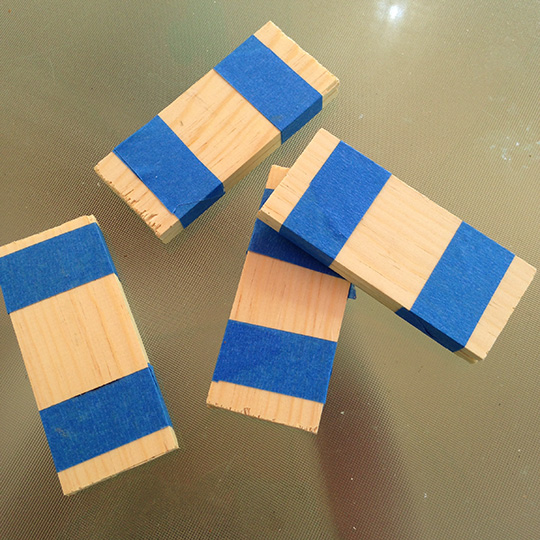 We also cut 4 4" long pieces of the 1 1/2" moulding for each rack. These we used for the sides. We glued two of these together to make each side, by applying wood glue to each piece and rubbing them together to disribute the glue across the whole side. We wrapped these in blue painter's tape to hold them together while they dried (clamps or rubber bands would have work at least as well or probably better, but this is what we had). We let them dry like this for about 8 hours (it's recommended to wait 24 hours, but we were in a hurry), and then removed the tape. The blocks now felt like one solid piece of wood 1 1/2" x 4" x 1/2" thick (this is so it's thick enough to drive screws into it). 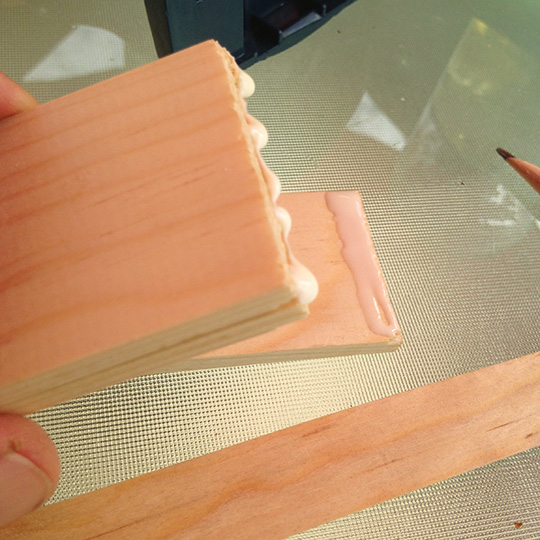 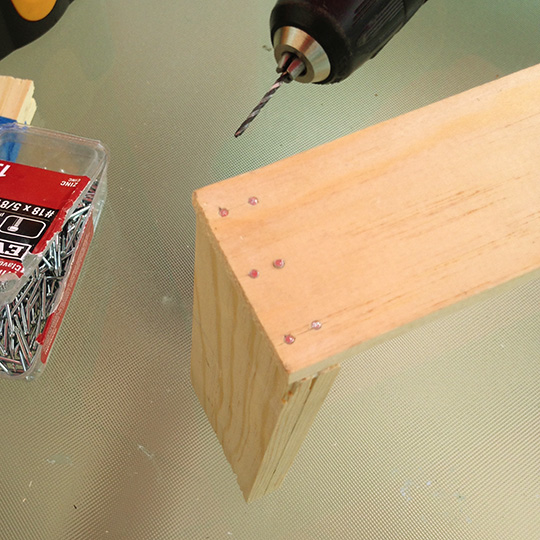 Next we put wood glue along one end of each of these and more glue along the edges of the top of our long 1 1/2" piece, flipped the whole thing upside-down, and carefully pounded six tiny nails into the bottom edge of the long strip (which is now facing up). This is so 3 nails are firmly planted into the edge pf each of the two pieces of wood we glued together. 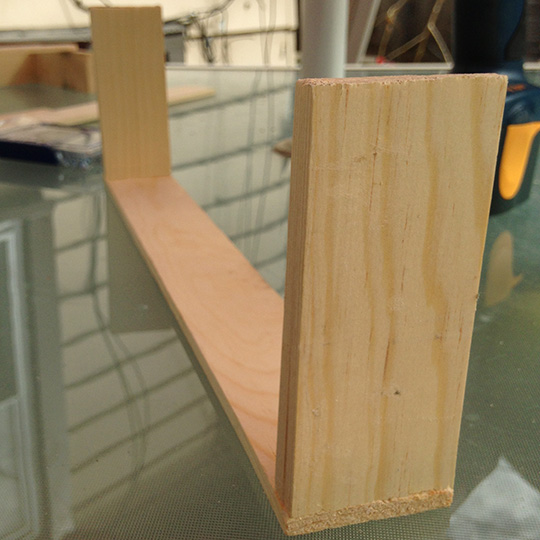 Once this in done on both sides, there should be a u-shaped piece that's 14" wide x 4 1/4" high x 1 1/2" wide. 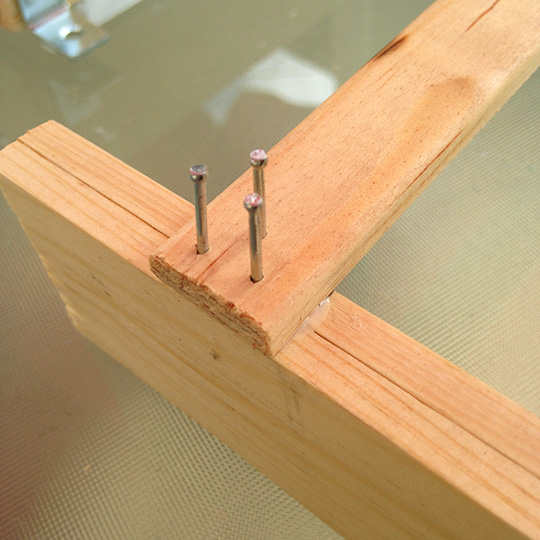 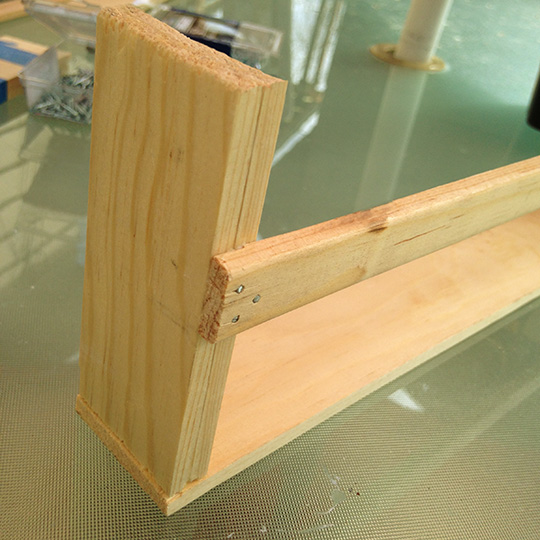 Then we used some more glue and more tiny nails to fasten the narrow strip across the front of the rack. We mounted this so that the bottom of the strip was 2 1/8" from the bottom of the rack. You could choose any height, but we chose this, because it was the height that was least likely to cover the name of the spice on the bottles we had lying around. 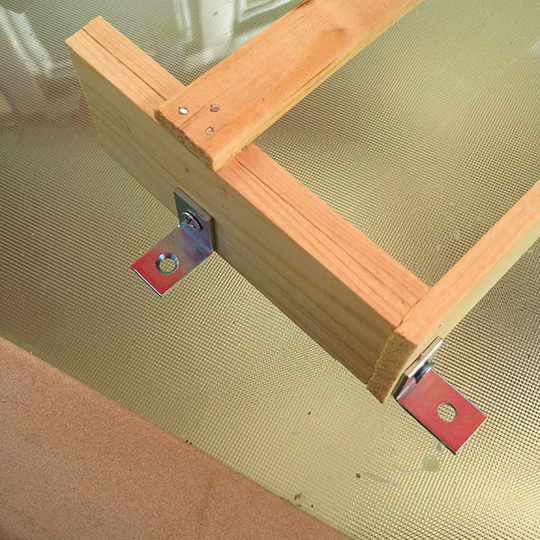 After that, we attached the corner brackets by drilling a hole with our smallest bit (pine is a pretty soft wood, which is why we chose it), and then driving our 1/2" wood screws into the holes. We mounted the brackets so they would be flush against the cabinet door. We put one in each edge of the bottom of the rack, and one on each side at the height of our front crossbar (though this is arbitrary). 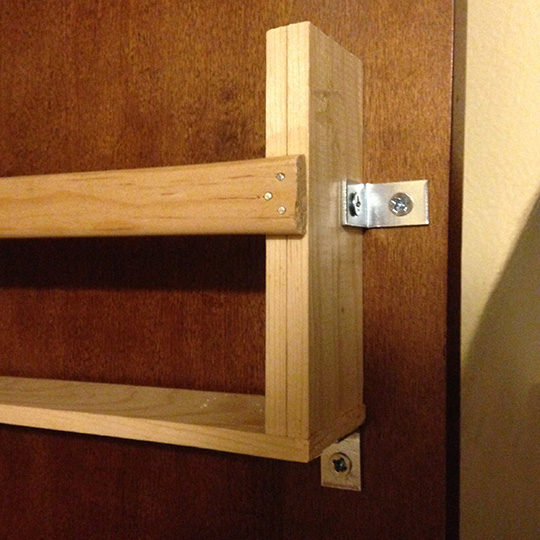 Now we had a completed rack, so it was time to mount it into the cabinet door. We chose the location on the door -- be sure to set it up that it fits between the shelves (or the door won't shut!) and we drilled the appropriate holes in the door (we had first wrapped a piece of tape around the drill bit so that just 3/8" of an inch was exposed. This way, when we drilled to the point where the tape touched the door, we knew our hole was deep enough and we didn't accidentally drill all the way through the door). We did our best to visually level it, but a level would have made the job easier. If you want, you could paint or stain the rack before mounting ot to the door. We may still pull our shelves off and do that, but bare pine works fine for now. Finally it was time to load our rack up with spices. And there it is. Make as many as you need to accommodate your spice collection. © 2015 Vegan Street |


 |
 |
 |
 |
 |
 |
 |